Showing posts with label Laurel. Show all posts

Saturday, July 5, 2014

Finished Laurel dresses with tiny ruffle variation.

Here it is!  After a year delay, the debut of the Laurel dresses.

The woman who owns and designs Colette Patterns is large of bust and long of leg.  Her designs tend to minimize bust and highlight leg.  As I am small of bust and short of leg, I am always dropping her necklines (sometimes by several inches) and hemming her dresses to a longer length.  

After I finished making these dresses, I remembered that this is not necessarily the most flattering style on me.  I tend to do better with a defined waist.  However, these are incredibly comfortable dresses and I think they will get a lot of use.  I'm glad I spent so much time fitting the shirts, as it translated into a pretty good fit on the dresses.
To see all the posts in the Laurel journey, click here.

Thursday, July 3, 2014

Laurel finished. And my eye is already on other projects.

This picture makes me think I'm a midgit.  But it's just a weird hanging height.  I'll take some pictures wearing said Laurels later.  I can't believe it took me almost a year to finish this project.  Too many things going on.  But let me say, these dresses are COMFORTABLE!  I really like them a lot, though their length means I have to squat like a lady while at work.

But yeah.  The projects have stacked up.  In addition to materials bought to make another apron (I kind of want to do a new one every summer) I also succumbed to the siren song of knits that Colette patterns has been sounding of late.  The material on the left is so I can make a Moneta of my very own and, if the pattern is as simple and flattering as people say, I may make three more uniform dresses so I can have a new uniform this year.  The material on the right is for curtains for the bedroom window.  I bought them on sale at Lowe's and I have plans to make them work better than they do now.  

And, of course, I bought material to make a roller shade for the door-with-window in my bedroom ages ago. The colorful fabric is from Ikea.  The border/backing fabric might look familiar to you, it's the leftover fabric from the uniform project. I've layered the two together with a picture of said roller shade so you can get the effect.  The not-quite-blue curtains I purchased at Lowe's will be integrated with the room by cutting out birds from the excess Ikea fabric (I have enough, I checked) and sewing them on triangles of the uniform fabric and sewing those on the curtains.  I also have plans to run a red ribbon across the curtains, (and possibly on the back of the shade?) to tie it into the red of the comforter.
As you can see, Sentinel is quite excited by this project.

Wednesday, March 26, 2014

Laurel Dress. Making more bias tape and a setback.

I concluded I did not have enough bias tape to complete this project, so I made some more.  Matt helped.  I have good spacial relations, but not good enough to be 100% confident that I could make the bias tape exactly as before with those stripes.  

Also, I discovered my iron has sprung  a leak.  I store it on top of the file cabinet when I'm not sewing and I discovered a wet, rusty mess below the file cabinet.  This involved moving the file cabinet and cleaning under it.

Then I propped it up on bars of soap so air would circulate under and dry the bottom, without leaving rust stains.

I felt very smart to think of this solution.

Should there be any future reference needed, this is the way you slice your stripy bias tape to get bias tape to come out vertical.

Here's my new bias tape maker!  It's the yellow thing on the right, nosed against the iron.

Here's my good helper.

And here I am sewing together sleeves.  You can see where the iron drips.

Tuesday, March 25, 2014

Progress on the Laurel Uniform dresses.

After months of nothing I have stay-stitched the neckline, joined the shoulders.  It looks more like a dress and less like pieces of material that aspire to be a dress.

Friday, November 29, 2013

Laurel dress. Cutting of fabric.

I love that I can sqeeze both front and back on one fold of this material.
 
I also love my new Bluetooth speaker I bought at Fred Meyer.  Much easier to listen to podcasts while I work.
 
Sleeves.
 
And I have this much left.  What to do, what to do?  Don't worry, I already have a plan.
 
Waiting to be sewn.
 

Tuesday, November 26, 2013

Shrug and a return to the Laurel Uniform Project.

It's getting really cold and I need to finish this shrug.  So here I go.  Look how much I took off the sleeves!  That would be the line sewn into the sleeve area.  Then I trimmed and bound.
 
Attaching binding on the edge of the sleeve.
 
And to the inside.  Matt's out of town and I wasn't in the mood for a self-capturing of the final product, so an official picture will come later.
 
And here we have a muslin of the Laurel Dress.
 
And here I am wearing it.  It's too loose in the front, but guess what?  I'm going to sew it that way anyway.
 
The back looks good, but could be taken in a bit across the seat.  But guess what?  It's getting sewn this way.

I'm ready to be done with the uniform project. Which isn't really the best way to sew, but there you have it.

Saturday, September 21, 2013

Colette Patterns' Laurel. Tracing Dress pattern.

Remember how I still have two dresses to make before I finish with the uniform project?  Me too!  It's been a while, but I did some work today.

First I checked the shirt pattern against the dress pattern and found that the dress pattern is exactly the shirt pattern, but longer.  Score.
 
Then it was a matter of taking my personal shirt pattern and marking where it hit on the dress pattern.

Then I just traced the shirt pattern and switched to the Collette Pattern original pattern for the bottom of the dress.

Friday, August 16, 2013

Colette Patterns' Laurel. It's a shirt! With the tiny ruffle variation.

Oh my gosh, do I like these shirts!  I love the color, I love the tiny ruffle variation and I love how quickly they came together.  I hoping that the dresses will come together quickly too, since I spent a lot of time fitting the shirts.
 
I especially love how the back is fitted. It's not something I feel like I see a lot in shirts.

Are there things I would improve on, given my druthers?  Yep.  The top of the back is a bit too poofy and I probably could have given the bust another half inch or so.  Also, the tiny ruffles like to roll and expose the bias binding, perhaps because I over stay-stitched the neckline, perhaps because it's just too much bulk.  The sleeves are weirdly puffy and I clearly have a ways to go in the setting-in-sleeves skill.  But overall?  Very happy.

Colette Patterns' Laurel: Ruffles and necklines. Also, starting the first apron.

These are the millions of threads it's smart to cut off before attaching the ruffle.  Also, notice the spools of thread on the sewing machine.  I've sewn through two spools of thread for the three shirts and I still have two more dresses to go.  Back to the fabric store I went for more thread.
 
A realization I had more than once while working on this project:  It's time for a new ironing board.  This one tends to randomly collapse.  Plus, I think my loyal readers are a bit tired of looking at the stained floral pattern.
 
But look!  Uniform shirts finished!
 
And we are continuing on to the apron.
 
With my trusty assistant.
 

Wednesday, August 14, 2013

Colette Patterns' Laurel: Setting in Sleeves

Here I am pulling bobbin thread to make things fit.
 
And here I am sewing.
 
And here are sleeves attached.

Now I only need to attach the neck ruffles and bind those seams and voila!  I will have finished uniform shirts.

Tuesday, August 13, 2013

Colette Patterns' Laurel: Attaching tiny sleeve ruffles and setting up sleeves.

The good thing about making three of the same shirt is that there is time to improve on one's task at hand.  So it went with attaching tiny ruffles to the sleeves.  I learned that I should trim all the tiny ruffles down a bit before sewing, so the millions of bits of thread don't have to be removed later. I learned that it's best to smoosh the ruffles so there is maximum ruffle, because that will still be enough to go around.  I learned that one should attach tiny ruffles to the sleeves and then trim a lot of the bulk from the seam line, which will make it easier to attach the bias tape.
 
Here's some bias binding happening.  I'm noticing I still haven't learned the trick for making sure the bias tape endings aren't raw.  But I learned that trick too.
 
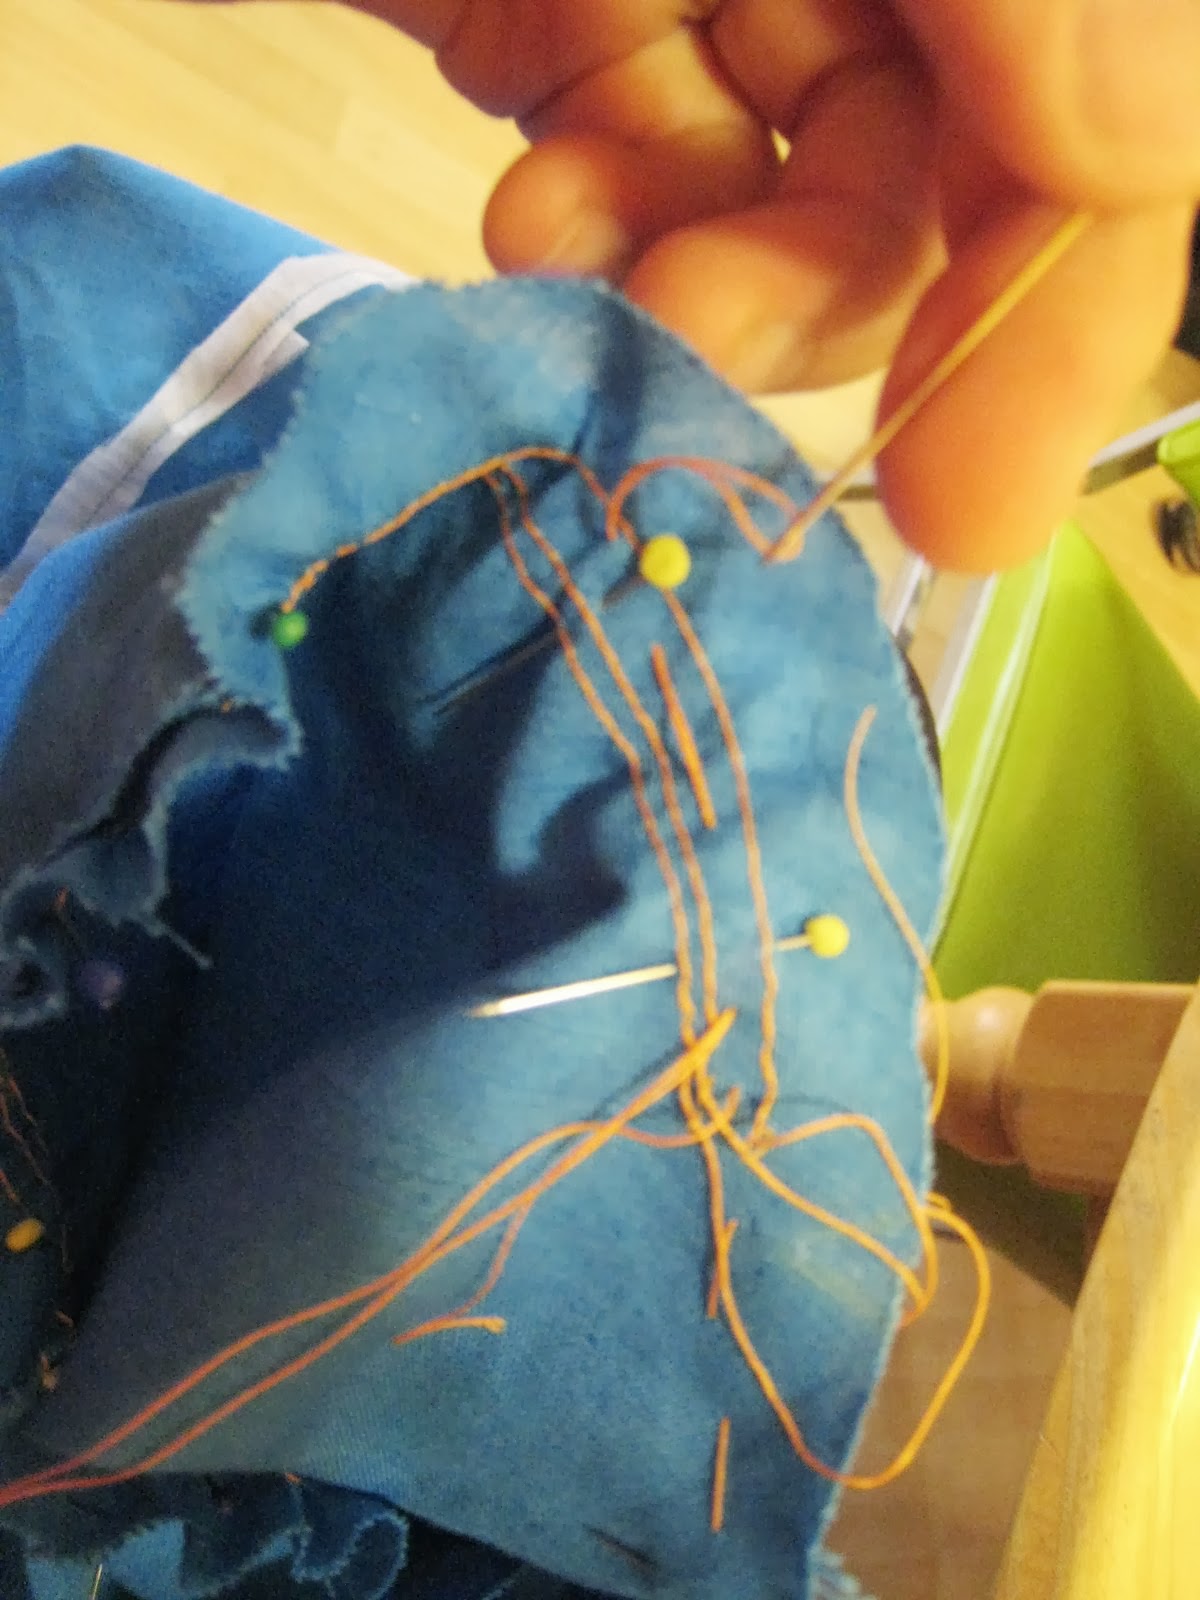
I've set in sleeves in my day and I like the process, if not always the result.  I like putting in three rows of gathering thread, which will be exuberantly ripped out once the sleeve is securely in place.  I went with bright orange because I've been ripping through the blue thread on this project, but also because contrast is easier to pull out after the fact.  Those are six sleeves, ready to be inserted and three shirts, ready to receive those sleeves.
 

Wednesday, August 7, 2013

Colette Patterns' Laurel: Tiny ruffles are hard on the hands. Also, getting bias tape right.

Here they are, three sets of sleeve ruffles, nearly ready to ruffle.
 
And here I am ruffling them.  My fingers ached from all the pulling of bobbin threads.  I do a lot with my hands and they are pretty strong and don't usually bother me, but something about the pinching and pulling really took its toll.  But there's no crying in sewing.  (That's a completely untrue statement.  There is often a fair amount of crying in sewing, especially when you finish a dress and decide the collar is horrid.  Just to take one random example.)
 
Attempt #3 at continuous bias tape was more successful with this tutorial.  The part that helped me the most is in the picture on the screen.  No Big Dill suggests actually numbering your lines so you can match things up and that worked wonders for me.
 
Cutting the continuous bias tape. Very satisfying.
 

Tuesday, August 6, 2013

Colette Patterns' Laurel: The day of French Seams. Also, wrong orientation for bias tape.

French seams are awesome.  They neatly encase the raw edge of your fabric in a tube that is part of the fabric and would otherwise just be hanging out, needing finishing.  To make them you sew the seam with the wrong sides together (it feels so wrong, but it's right), trim said seam, press open (and then over, if you are anal like me) and then pin the right sides together and sew the same seam again, then press again.  Here is a tutorial if you are interested.

If you followed all that, you have just realized that each seam of my three shirts needs to be stitched twice, trimmed once, and pressed twice.  There are seven seams per shirt (two neck, one back, two sides, and two sleeves) and three shirts so that makes 21 seams total which means 42 seams, 21 trims, and 42 pressing sessions.  All that is to say that all I did today was sew french seams until my eyes crossed.  Holy cow.

Here's an example of the back.
 
The shoulder.
 
And the sleeve.  Still, they look pretty, don't they?  And they are strong too, which is good for a work shirt.
 
To give myself a break, I started to make bias tape.  Here's my fabric.
 
And here's my joined triangle.
 
And here is me realizing that I have the angles wrong.  Blast!
This image comes from Colette Pattern's book on the Laurel Variations, which is free to download and where I learned about the tiny ruffle variation of the Laurel.
 
To cheer myself, I cut out the fabric for the tiny ruffles.